Wednesday, 18 December 2013

CAS Christmas Cards

Christmas cards are always fun to make.......
In all my cards only one element pops out , that gives the card a very simple and elegant look.
Diecut the shape ,with decorative scissors I made the border and added the twine bow to hang the ornament.


I embossed the ornament with gold embossing powder and used cuttlebug christmas folder for the background.

Punched out martha stewart snowflake, added a button with red twine.....drew the black dots with sketch pen.

With Itsy Bitsy circle die I created the snowman...isn't he cute!!!!

Adding to Dcam CAS Challenge , Itsy Bitsy Make It Festive Challenge

Monday, 9 December 2013

Popcorn Slider Card

My son wanted to give a small gifts to his teachers for the holiday season , so we decided to make something simple and fun. I found this tutorial on youtube.
I wrapped a popcorn packet with a cardstock....decorated with a coffee mug or an ornament diecut and added the ribbon to it. Now its ready to be given....
Fun gift to give.....relax and have popcorn during christmas holidays :)


Thursday, 5 December 2013

Christmas Ornaments

Decorated the plain store bought ornament.....I cut out a circle from the Acrylic sheet . Glued my snowman and  the tree from cricut cartridge to the sheet.
Open the top of the ornament , roll the acrylic sheet and put it inside. Add some sparkly snowflake and ribbon to the ornament. 


Itsy Bitsy Picture Inspiration Challenge

Recycled Magazine Christmas Tree

I learnt this technique when I was in the 4th grade, then I totally forgot about it. I was planning to do a Tabletop decoration for the Christmas party....after all these years I thought I'll do a Christmas tree with Filmfare magazines . Once I finish folding the whole book we (my son and myself) colored it with acrylic paint...to give more sparkly look I applied a coat of Mod Podge extreme glitter. Decorated the tree with punched circles from Itsy Bitsy gold Glitter paper and Itsy Bitsy Little Birdie red ribbon.


After seeing the tree my daughter wanted it for her class Christmas party......


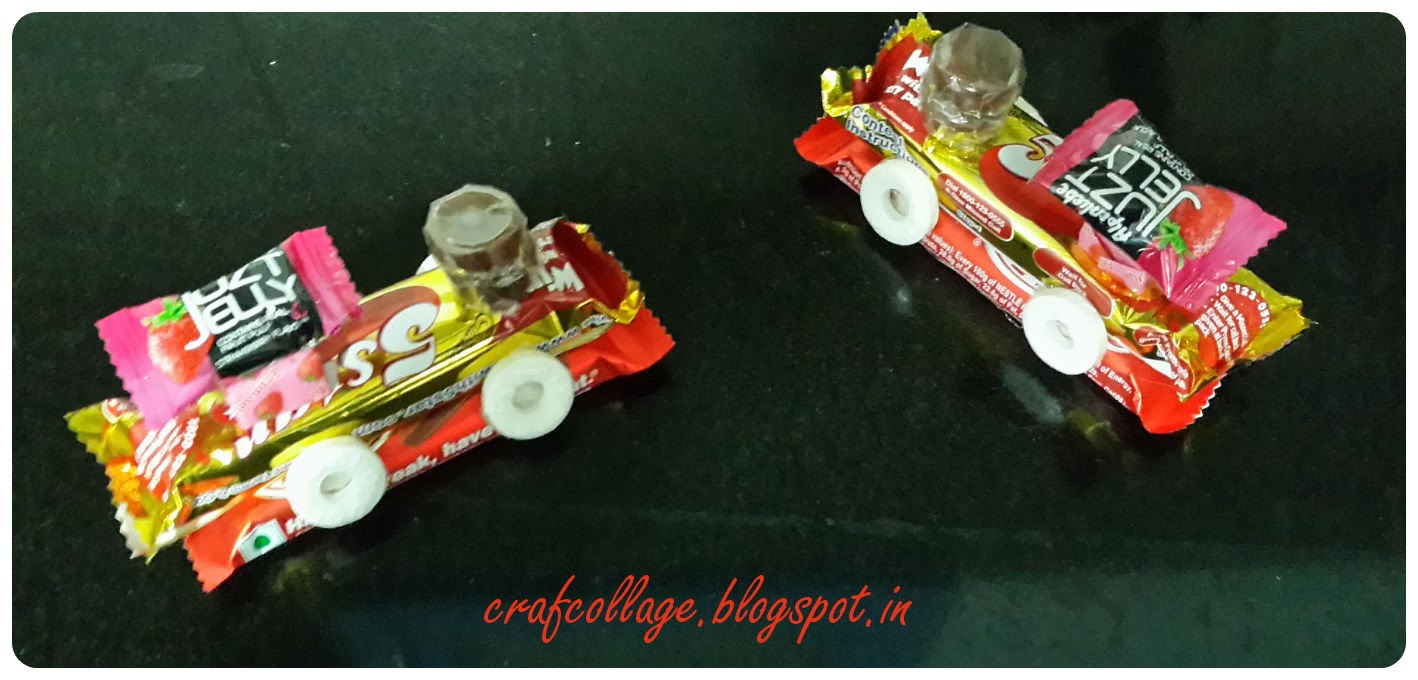
Chocolate Train

An interesting way to give chocolates at a party.....


Thursday, 28 November 2013

Santa Christmas Cards

I love making Christmas cards....


This Santa card took me almost 5 hrs to finish . I wanted to make it look like a mat with tiny tassels on  all side... so I drew and cut a semi window, then punched tiny holes. Layered gold strip paper on top of green card and I stuck it from behind . The Santa is made from Shrink Plastic. The tiny tassels look very pretty on the card.


Both the Santa Claus are made from quickutz die.


Friday, 25 October 2013

Viking Knit Bracelet

I've been wanting to try this viking chain for quite sometime, till now whenever I saw this intricate design I assumed it was going to be very difficult and also looking at the name I thought its got to do something with knitting (not my area of interest) so I didn't give it a try. Recently I went to a craft fair ,there I saw this design I very much wanted to buy it but the price was high.... so I decided to make one for myself.

Materials used
Aen Key
28 gauge wire(from Itsy Bitsy)
Wire cutter
Ruler
Eye pin
Endcaps
Metal Clasps


First chain turned out good but it had few kinks here and there, but not noticeable.


Looking at the chain my daughter asked me to make a bracelet for her.
First made the viking knit bracelet
Next filled the bracelet with crystal beads
Added the end caps
Finished it by hanging few charms to it.

VOILA pretty bracelet ready....


If anyone interested in learning the technique for this bracelet do email me at anuja_npark@yahoo.com or leave a coment.

Thursday, 3 October 2013

Another Altered Box

I decorated this altoids box for gifting the jewellery which I made in my previous post.


(patterned paper and pearl)

Wire Jewellery Set

I made this set to gift it to my sister-in-law for her birthday. First I just made the ear cuff and then all the other pieces followed to make a complete set.


Paper Bead Jewellery

The pendant and earring are made from 1" cream PAPER strip. I drew the picture, colored it and then rolled the paper to form the bead. I used Mod Podge as the top coat to give a glossy finish. Once it dries completely added the pearls to finish the pendant and earring.


My kids were able to find six differences between the drawings.
I'm adding this to Itsy Bitsy Pretty P Challenge
(Paper and Pearl)