Showing posts with label Decoupage. Show all posts

Thursday, 25 February 2016

Cottage Rose Side table

Hello Friends
I've been wanting to refurbish this piece of furniture for sometime.....this side table is one of the oldest furniture in my house, my hubby bought it when he was in college in US.....that's close to 18 years.


First Step
Cleaned the table with soap water and then did some light sanding just to the get rough surface. I dismantled the table so that it will be easier to paint.

Second Step
I went with Folkart Home Decor Bavarian Chalk paint ( from thecraftshop.in). I had to give three coats to cover the base color, it dries super fast.

Third Step
With the Monte Marte modelling paste and craftslane stencil ,I did the rose and left it to dry for 2 hours....colored it with chalk paint.


Fourth Step
Thanks to Diana from dreamfactory for putting together the images from Graphics fairy. Printed them on Inkjet Waterslide decal paper. Arranged it on the table to see how it looks. Since I didn't have the decal solution ,I used Mod Podge for sticking the images.

Fifth Step
Added a rub-on border to the sides.

Sixth Step
To finish gave 3 coats of varnish, that sealed the decals to the table.


Monday, 2 November 2015

Decoupaged Wooden box

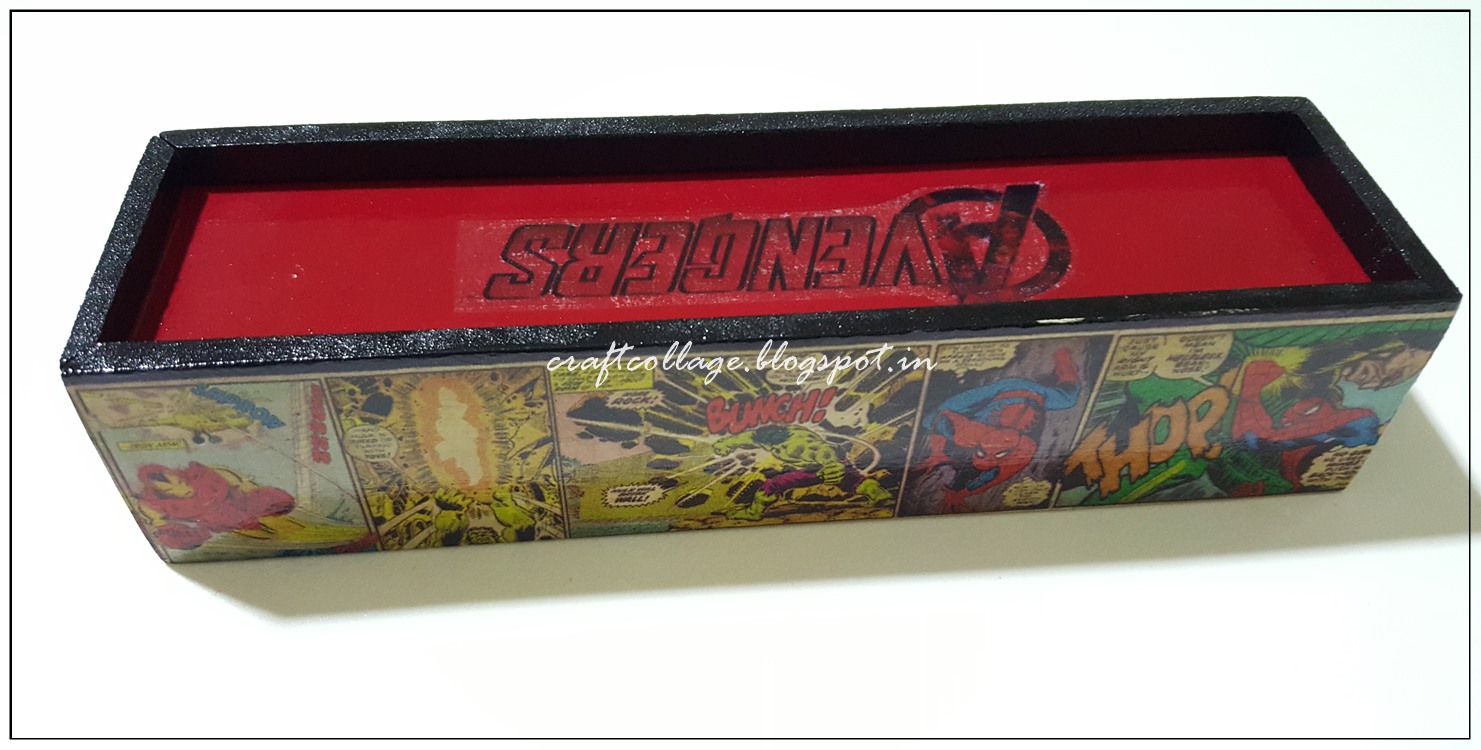
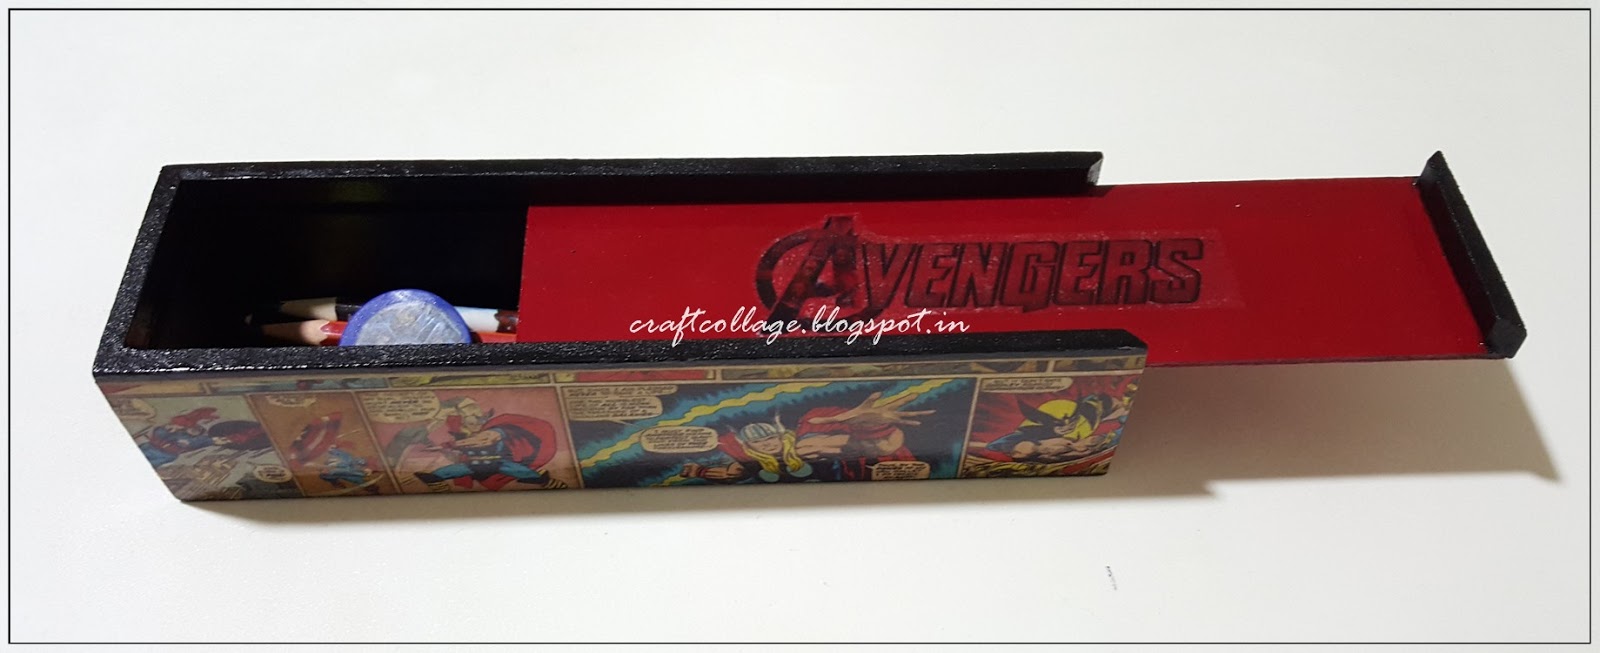
This is one of my most fun project......I bought these wooden boxes to make pencil cases for my kids and my nephews, each one wanted different designs. Painted the inside of the box with black acrylic paint. 

My son asked for avenges in color couldn't find any napkins online so I printed myself . I had an Avengers comic book , photocopied them and printed it on a tissue paper.


My daughter wanted avengers in Black and White... I was able to get it online.


Fortunately both my nephews wanted Spider-man.....


The children were very happy with their choice of gifts.

Altered Canvas

This canvas was inspired by Patioelf youtube channel....she showed how to do with step by step instruction.The tissue napkins are from thecraftshop.in
I just followed her instruction on how to stick the tissue to the canvas.Spray painted the spoon and added the face of the lady. For the edges of the spoon I gold leafed them. For the sides of the canvas used border sticker. "BON APETIT" cut out with Cricut explore.


Saturday, 24 October 2015

Decoupage on Tin

Hello Everyone!!!
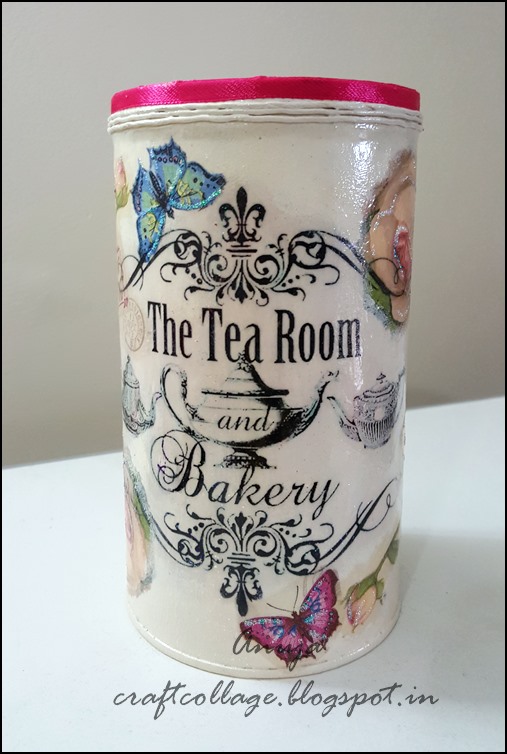
One more upcycled old cookie tin with tissue and image transfer....


Decoupage on a Cookie Tin

Step by Step instruction to upcycle an old cookie tin.
First I cleaned the outer surface with soap and water .Then scrubbed the entire box with sandpaper so that the paint will adhere easily.


With the masking tape covered the edges.


I used spray paint on the box (2 coats).
Printed the images from Graphic fairy on yellow copy paper.With Mod podge stuck the paper on the tin and let it dry for 3 hrs.Once it was completely dry used a wet cloth to remove the top layer of paper.


Cutout the images from the tissue and adhere it to the tin.


Once everything was dry added glitter to it.


At last I applied  2 coats Flat lacquer to seal the entire surface.


Friday, 21 August 2015

Altered Treasure Trove Step by Step Tutorial

I got this box as a gift for my Birthday from my sister-in-law ......what a thoughtful gift!!!
As soon I got the box so many ideas went through my mind....
it was a 12" by 12" box,pretty big one.
 I decided to try Image Transfer with Mod Podge ....so here I go lets get started.....


First I removed the hinges and the lock , gave a coat of Gesso and left it to dry completely.....then applied 3 coats of Beige color paint leaving it to dry between coats.


Printed the image from Graphic Fairy on three different color paper,chose the beige color.....very very pretty image.


Applied a thick coat of mod podge on the printed side and stuck it on the box....removed all the air bubbles with a brayer. Left it to dry overnight.


With a wet towel I removed the paper very slowly.VOILA!!!Image Transfer done.


Now time to do some decoupage......I cut out various parts from the paper napkin and aligned to see how it looks.


 Then I stuck everything with Mod Podge.


Added script with Crafter's Workshop stencil Art Is and texture paste.


Added glitter to the flowers and sprayed clear gloss varnish ......After finishing,the image looked very pretty  so I tried to hang it on the wall.


Linking it to